基础条件: 公网ECS服务器(Centos7.4)1台,1个域名,1个SSL证书 软件:微信开发者工具 禾匠小程序商城独立版3.1.20完整版 Nginx 1.15.9 PHP 7.1.26 Mysql:5.7.25 wget http://www.xchinagroup.top/softdown/centos7/18_weixin/hejiang_shop_v3.1.20_full.zip 一、先申请域名,并备案、免费的SSL证书,公网服务器,安装LNMP 二、部署后端 2.1、上传后端到服务器上,解压到/usr/local/nginx/html chown -R nginx:nginx /usr/local/nginx/html/ 2.2、创建数据库、并导入数据:数据库创建,按照备份文件里面的要求来创建。
创建数据库: create database blog_neman charset=utf8; grant all on blog_neman.* to hj@'localhost' identified by 'hj.com123'; flush privileges; mysql -uroot -p blog_neman </root/hejiang_shop_v3.1.20_full/data/hjshop3.1.20.sql 如果导入数据报错: 修改 /etc/my.cnf vim /etc/my.cnf 在[mysqld]模块中添加: sql_mode=STRICT_TRANS_TABLES,NO_ZERO_IN_DATE,ALLOW_INVALID_DATES,ERROR_FOR_DIVISION_BY_ZERO,NO_AUTO_CREATE_USER,NO_ENGINE_SUBSTITUTION 重新启动MySQL systemctl start mysqld 再导入。 2.3、修改数据库连接文件:

2.4、修改nginx 配置文件: worker_processes 4; worker_rlimit_nofile 100000; #更改worker进程的最大打开文件数限制. events { worker_connections 409600; use epoll; } http { include mime.types; default_type application/octet-stream; sendfile on; tcp_nodelay on; tcp_nopush on; server_tokens off; #隐藏版本号。 keepalive_timeout 60; gzip on; gzip_disable "msie6"; #设置成IE6或者更低版本禁用gzip功能。 gzip_proxied any; gzip_min_length 1000; #设置对数据启用压缩的最少字节数。 gzip_comp_level 6; server { listen 80; server_name weixin.xchinagroup.top; location / { root html; index index.php index.html index.htm; } error_page 500 502 503 504 /50x.html; location = /50x.html { root html; } location ~ \.php$ { try_files $uri =404; fastcgi_pass 127.0.0.1:9000; fastcgi_index index.php; fastcgi_param SCRIPT_FILENAME $document_root$fastcgi_script_name; include fastcgi_params; } } server { listen 443 ssl; server_name weixin.xchinagroup.top; ssl_certificate /usr/local/nginx/cert/weixin.xchinagroup.top.pem; ssl_certificate_key /usr/local/nginx/cert/weixin.xchinagroup.top.key; ssl_session_cache shared:SSL:1m; ssl_session_timeout 5m; ssl_ciphers HIGH:!aNULL:!MD5; ssl_prefer_server_ciphers on; location / { root html; index index.php index.html index.htm; } location ~ \.php$ { try_files $uri =404; root html; fastcgi_pass 127.0.0.1:9000; fastcgi_index index.php; fastcgi_param SCRIPT_FILENAME $document_root$fastcgi_script_name; include fastcgi_params; } } include vhost\*.conf; } 2.5、IE 打开后端https://你的域名 +++++++++++++++++++++++3.1.2++++++++++++++++++++++++

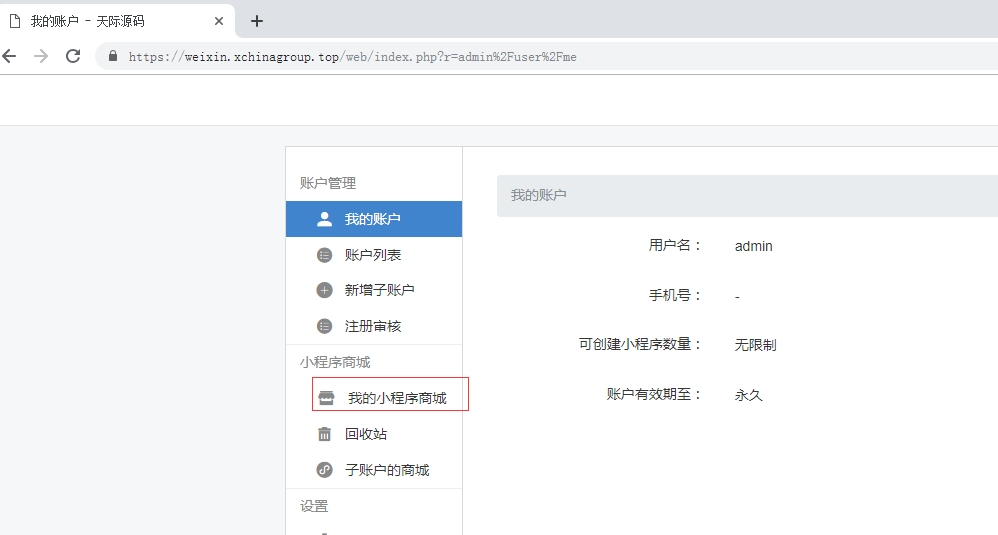
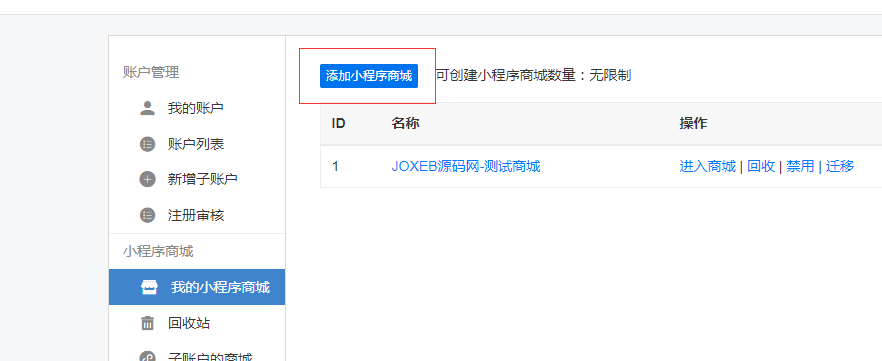
进入商城,管理小程序:
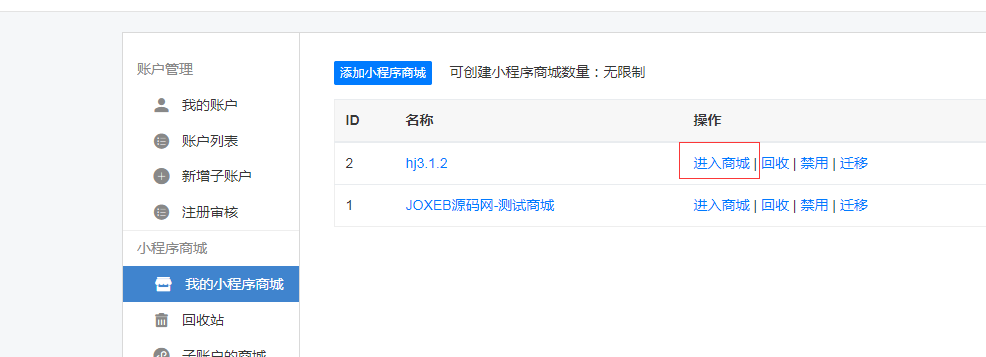
添加在微信公众平台申请小程序的 APPID 和 AppSecretID
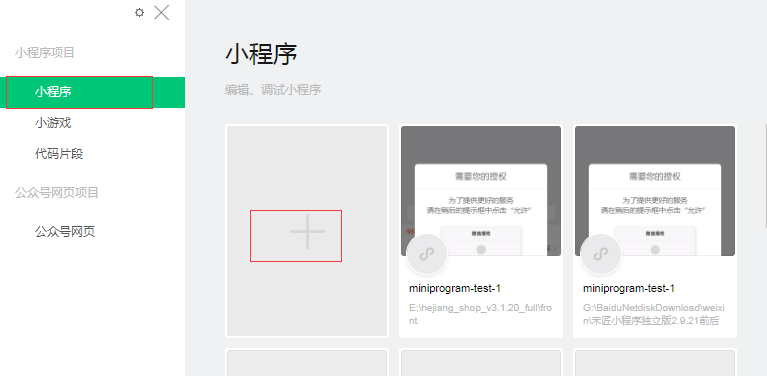
三、部署前端 3.1、安装 微信开发者工具,网上下载,直接安装。 https://dldir1.qq.com/WechatWebDev/nightly/p-7aa88fbb60d64e4a96fac38999591e31/wechat_devtools_1.02.1905212_x64.exe 3.2、加载前端程序: 双击打开已安装的 微信开发者工具
修改AppID:
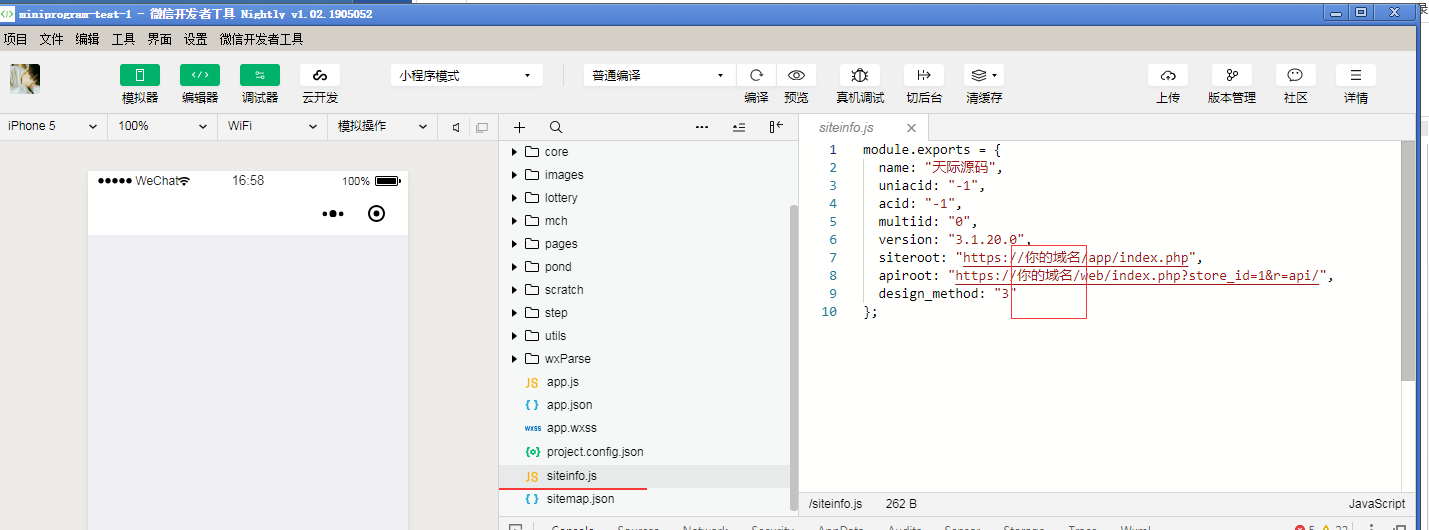
修改siteinfo.js ,改成自己的 真实有效的域名。
修改了,记得要编译一下。
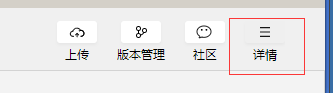
四、调试 先修改调试选项:
还有,确认siteinfo.js 里面的ID 是否与后端,小程序里面的ID 一样。
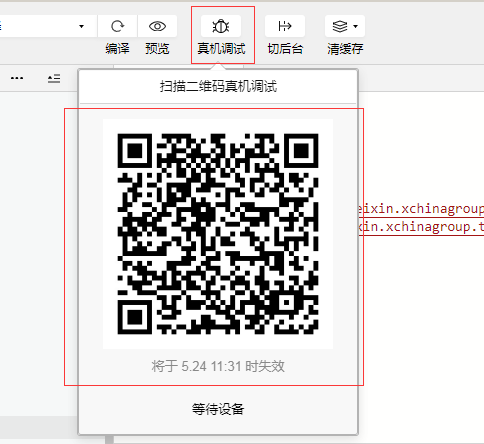
修改了,记得要编译一下。 选择,真机调试,扫码。

五、后台页面,添加商品。 先创建商品分类:
分类配置:
以上内容根据实际情况来添加。
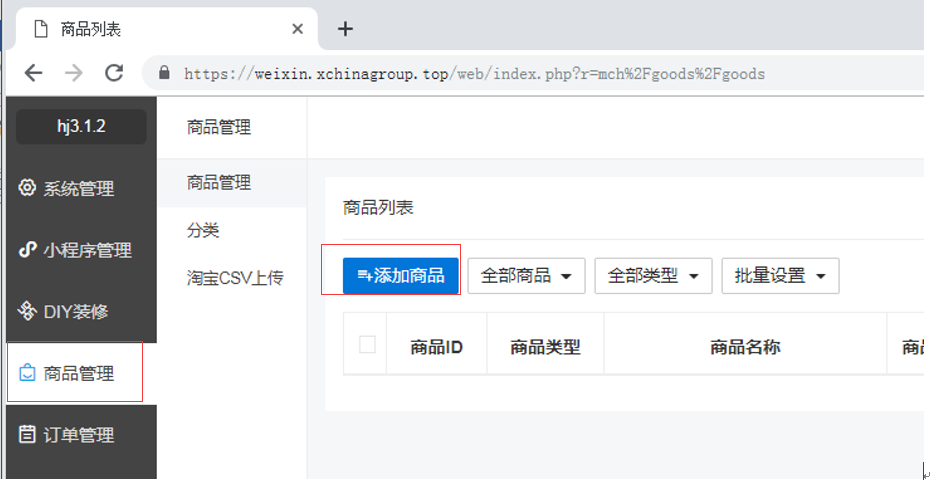
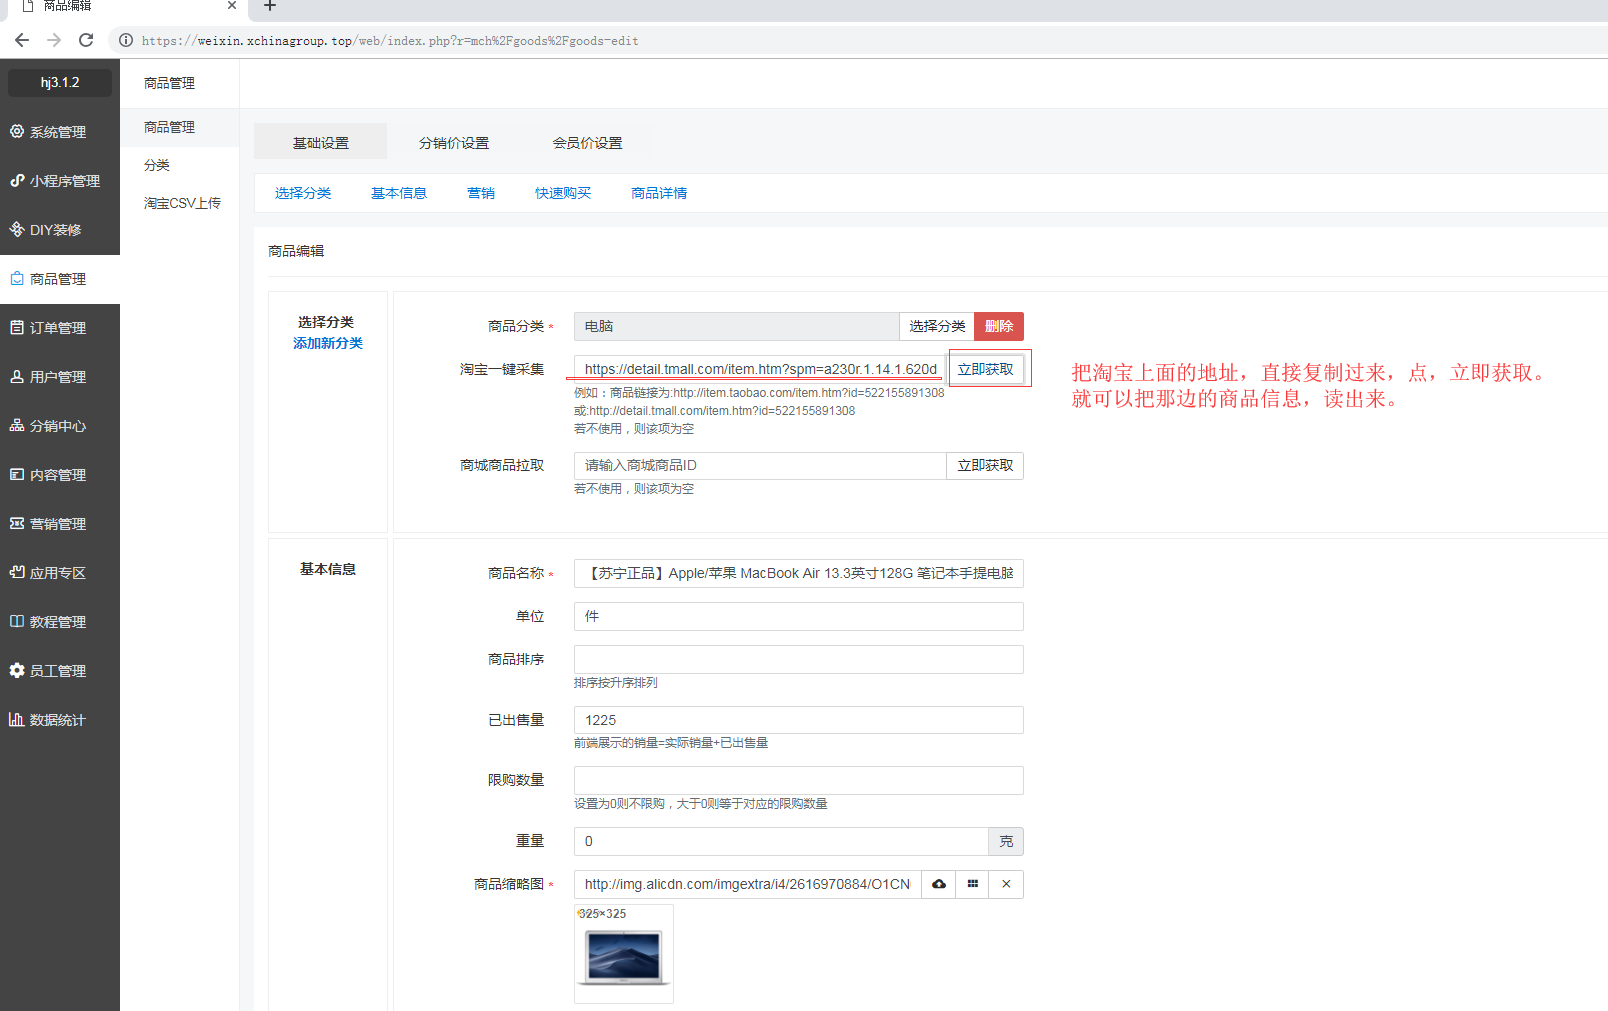
添加商品:

将添加好的商品上架:


再次真机调试:手机微信扫码登录:
++++++++++++++++++++++++++++++ END ++++++++++++++++++++++++++++ 到此,前后端已经部署完成,还需要在微信公众平台里面申请,微信商户号,才能收款。 最后全部正常后,需要到微信公众平台,申请发布,等待审核成功后,才能给用户使用。