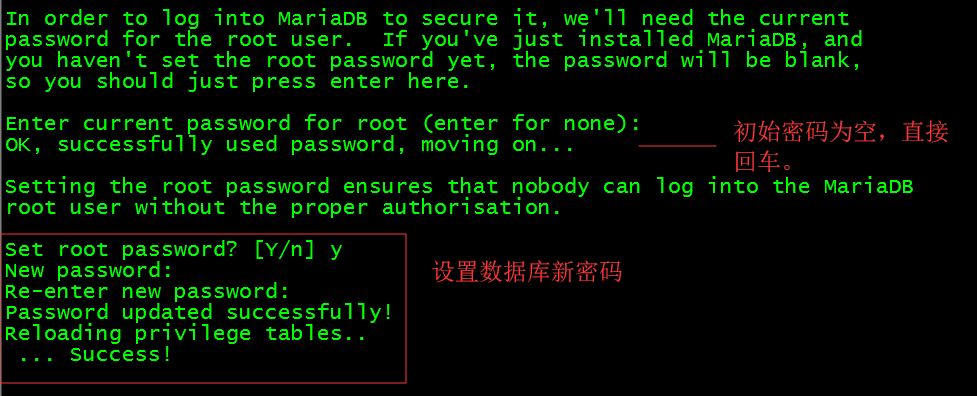
防火墙、selinux 关闭。 一、安装Apache2.4.6 yum -y install epel-release yum install -y httpd httpd-devel二、安装mariadb 数据库,并配置。 yum install -y mariadb mariadb-server service mariadb start #启动数据库 mysql_secure_installation #初始化数据库服务
创建snipeit数据库 create database snipeit; grant all on snipeit.* to 'snipeit'@'%' identified by '324215'; flush privileges; exit
三、源码安装php 、配置Apache 支持 3.1、安装PHP所需要的依赖环境 yum install -y make gcc wget openssl readline-devel openssl-devel libxslt-devel gmp-devel bzip2-devel freetype-devel libjpeg-devel php-mcrypt libmcrypt libmcrypt-devel autoconf freetype gd jpegsrc libmcrypt libpng libpng-devel libjpeg libxml2 libxml2-devel zlib curl curl-devel 3.2、下载php安装包: cd /opt wget http://cn2.php.net/get/php-7.2.3.tar.gz/from/this/mirror wget http://www.xchinagroup.top/softdown/centos7/01_php/php-7.2.3.tar.gz 两个地址都可以下载 tar zxf php-7.2.3.tar.gz && cd php-7.2.3/ ./configure --prefix=/usr/local/php7.2.3 --with-config-file-path=/etc --enable-fpm --enable-inline-optimization --disable-debug --disable-rpath --enable-shared --enable-soap --with-apxs2=/usr/bin/apxs --with-libxml-dir --with-xmlrpc --with-openssl --with-mhash --with-pcre-regex --with-sqlite3 --with-zlib --enable-bcmath --with-iconv --with-bz2 --enable-calendar --with-curl --with-cdb --enable-dom --enable-exif --enable-fileinfo --enable-filter --with-pcre-dir --enable-ftp --with-gd --with-openssl-dir --with-jpeg-dir --with-png-dir --with-zlib-dir --with-freetype-dir --enable-gd-jis-conv --with-gettext --with-gmp --with-mhash --enable-json --enable-mbstring --enable-mbregex --enable-mbregex-backtrack --with-libmbfl --with-onig --enable-pdo --with-mysqli=mysqlnd --with-pdo-mysql=mysqlnd --with-zlib-dir --with-pdo-sqlite --with-readline --enable-session --enable-shmop --enable-simplexml --enable-sockets --enable-sysvmsg --enable-sysvsem --enable-sysvshm --enable-wddx --with-libxml-dir --with-xsl --enable-zip --enable-mysqlnd-compression-support --with-pear --enable-opcache make && make install 3.3、添加php的环境变量 vim /etc/profile 在文件的最后面添加: PATH=$PATH:/usr/local/php7.2.3/bin export PATH
保存退出。source /etc/profile 3.4、配置php-fpm cp /opt/php-7.2.3/php.ini-production /etc/php.ini
cp /opt/php-7.2.3/sapi/fpm/init.d.php-fpm /etc/init.d/php-fpm chmod +x /etc/init.d/php-fpm cd /usr/local/php7.2.3 cp etc/php-fpm.conf.default etc/php-fpm.conf cp etc/php-fpm.d/www.conf.default etc/php-fpm.d/www.conf 启动 php-fpm service php-fpm start
3.5、修改httpd.conf vim /etc/httpd/conf/httpd.conf


保存退出。重启httpd systemctl restart httpd 3.6、检验httpd的PHP支持和版本信息: echo "<?php phpinfo(); ?>" >> /var/www/html/index.php
四、安装composer cd curl -sS https://getcomposer.org/installer | php mv composer.phar /usr/bin/composer
五、安装snipeit cd /var/www && yum install git -y git clone https://github.com/snipe/snipe-it snipe-it
编辑配置文件 cd snipe-it/ cp .env.example .env vim .env
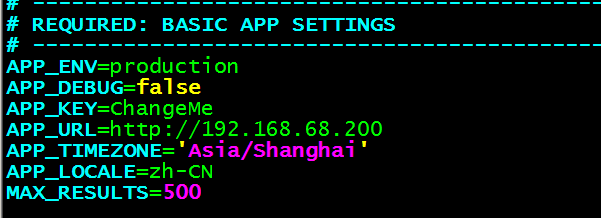
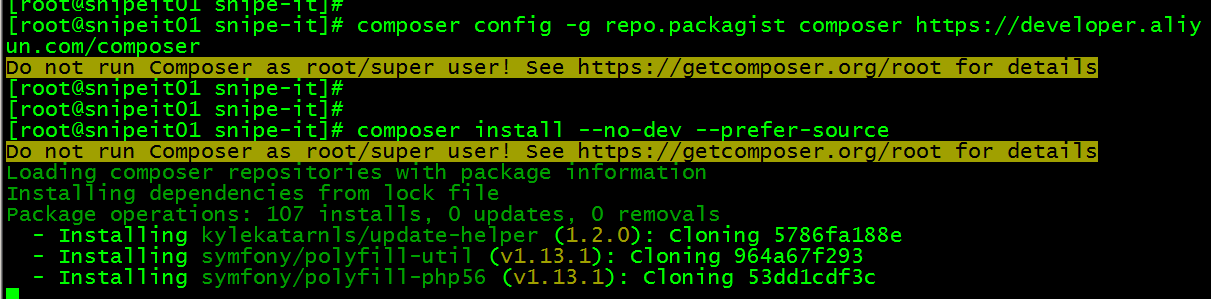
保存退出。 更改目录权限: cd /var/www/snipe-it/ chown -R apache:apache /var/www/snipe-it chmod -R 755 storage public/uploads 使用composer 安装PHP依赖 更改镜像为阿里云 composer config -g repo.packagist composer https://developer.aliyun.com/composer composer install --no-dev --prefer-source #这里的时间比较久,根据你的网络来定
php artisan key:generate
六、修改Apache配置文件,创建虚拟主机 vim /etc/httpd/conf.d/snipeit.conf <VirtualHost *:80> ServerName snipeit.dfs.com DocumentRoot /var/www/snipe-it/public <Directory /var/www/snipe-it/public> Options Indexes FollowSymLinks MultiViews AllowOverride ALL Order allow,deny allow from all </Directory> </VirtualHost>
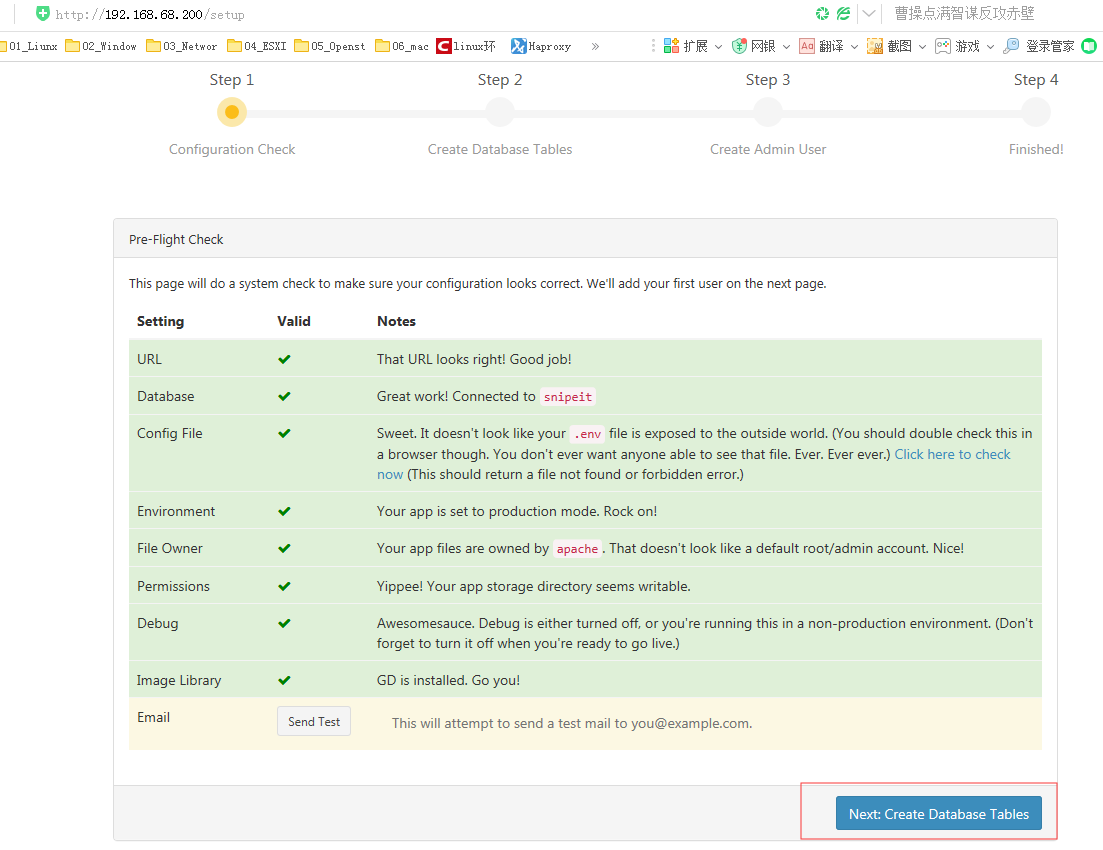
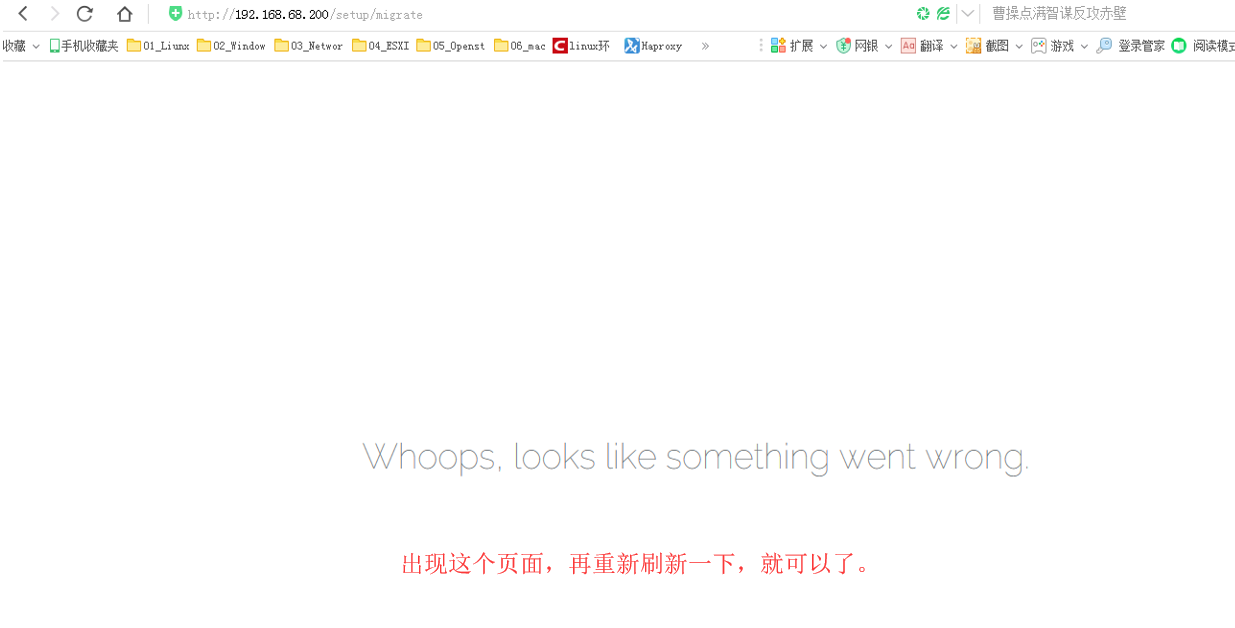
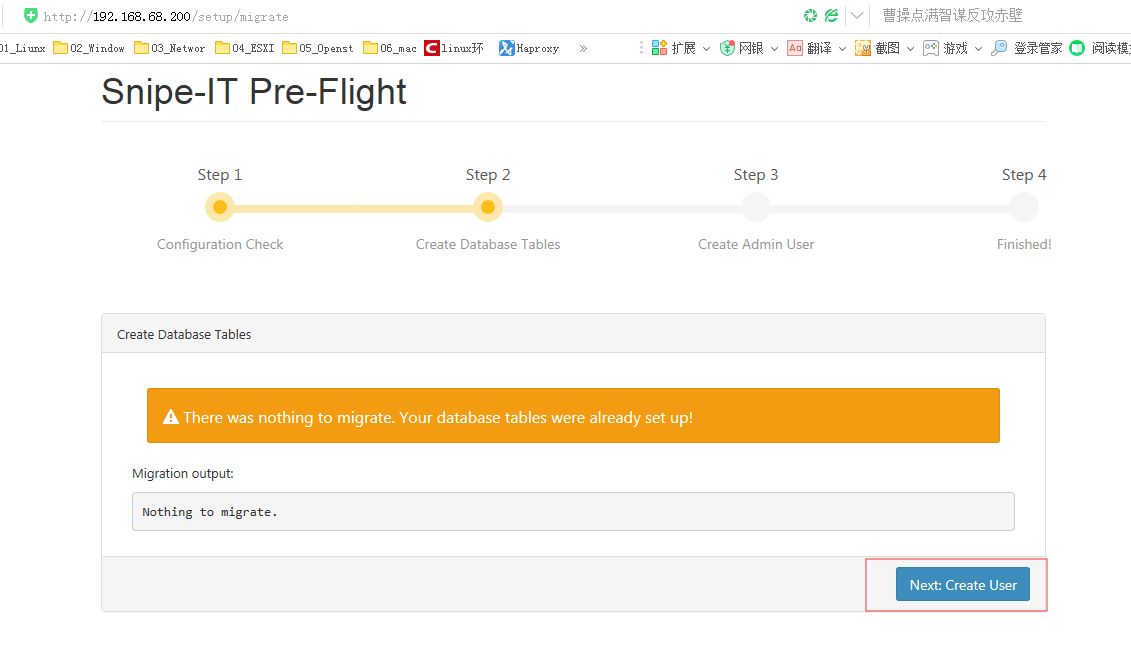
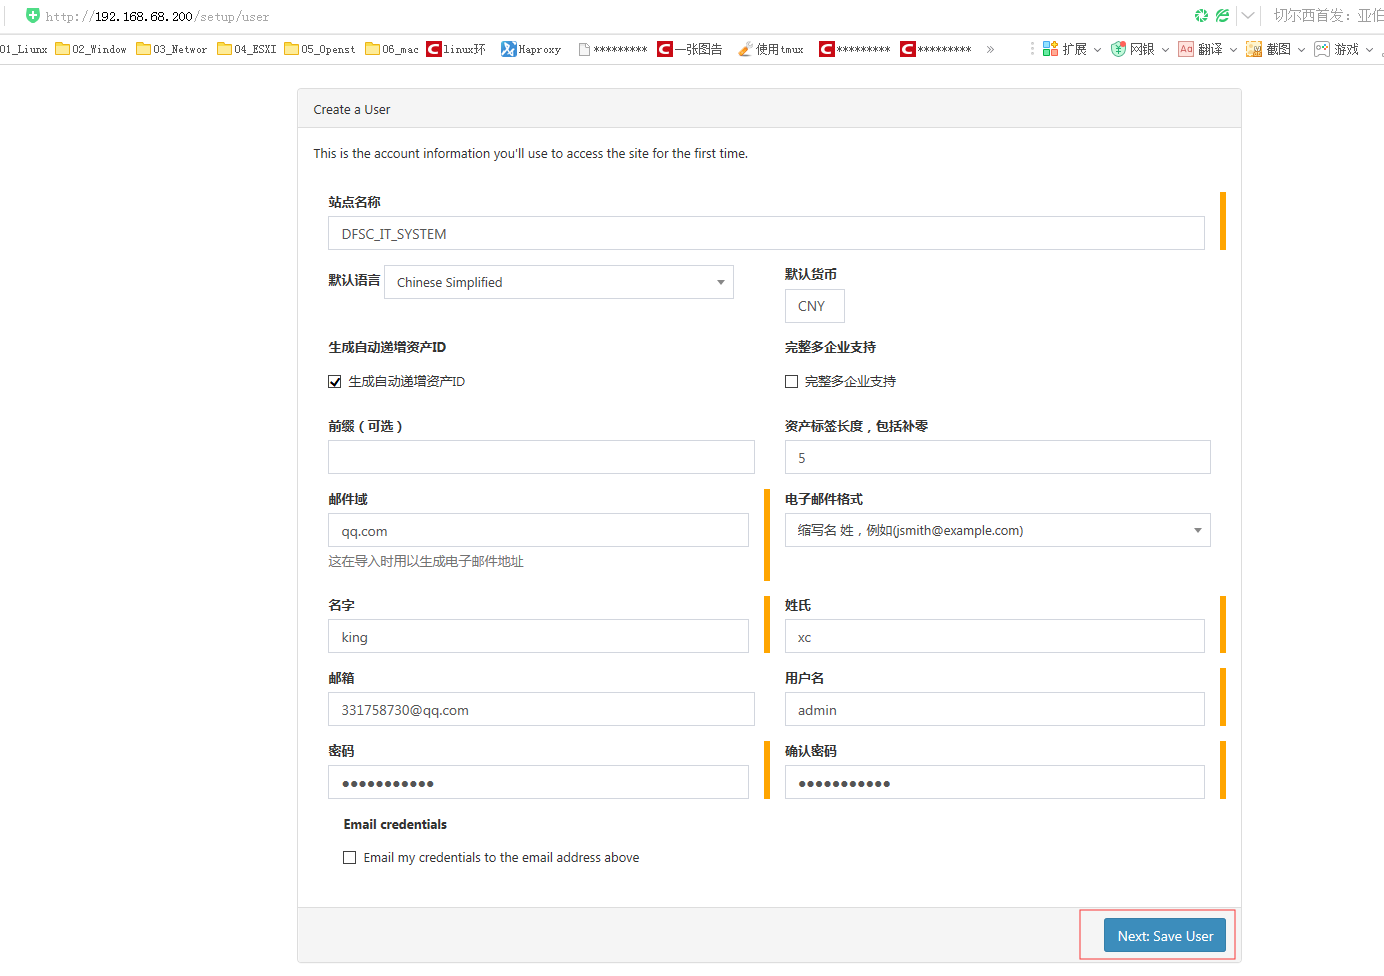
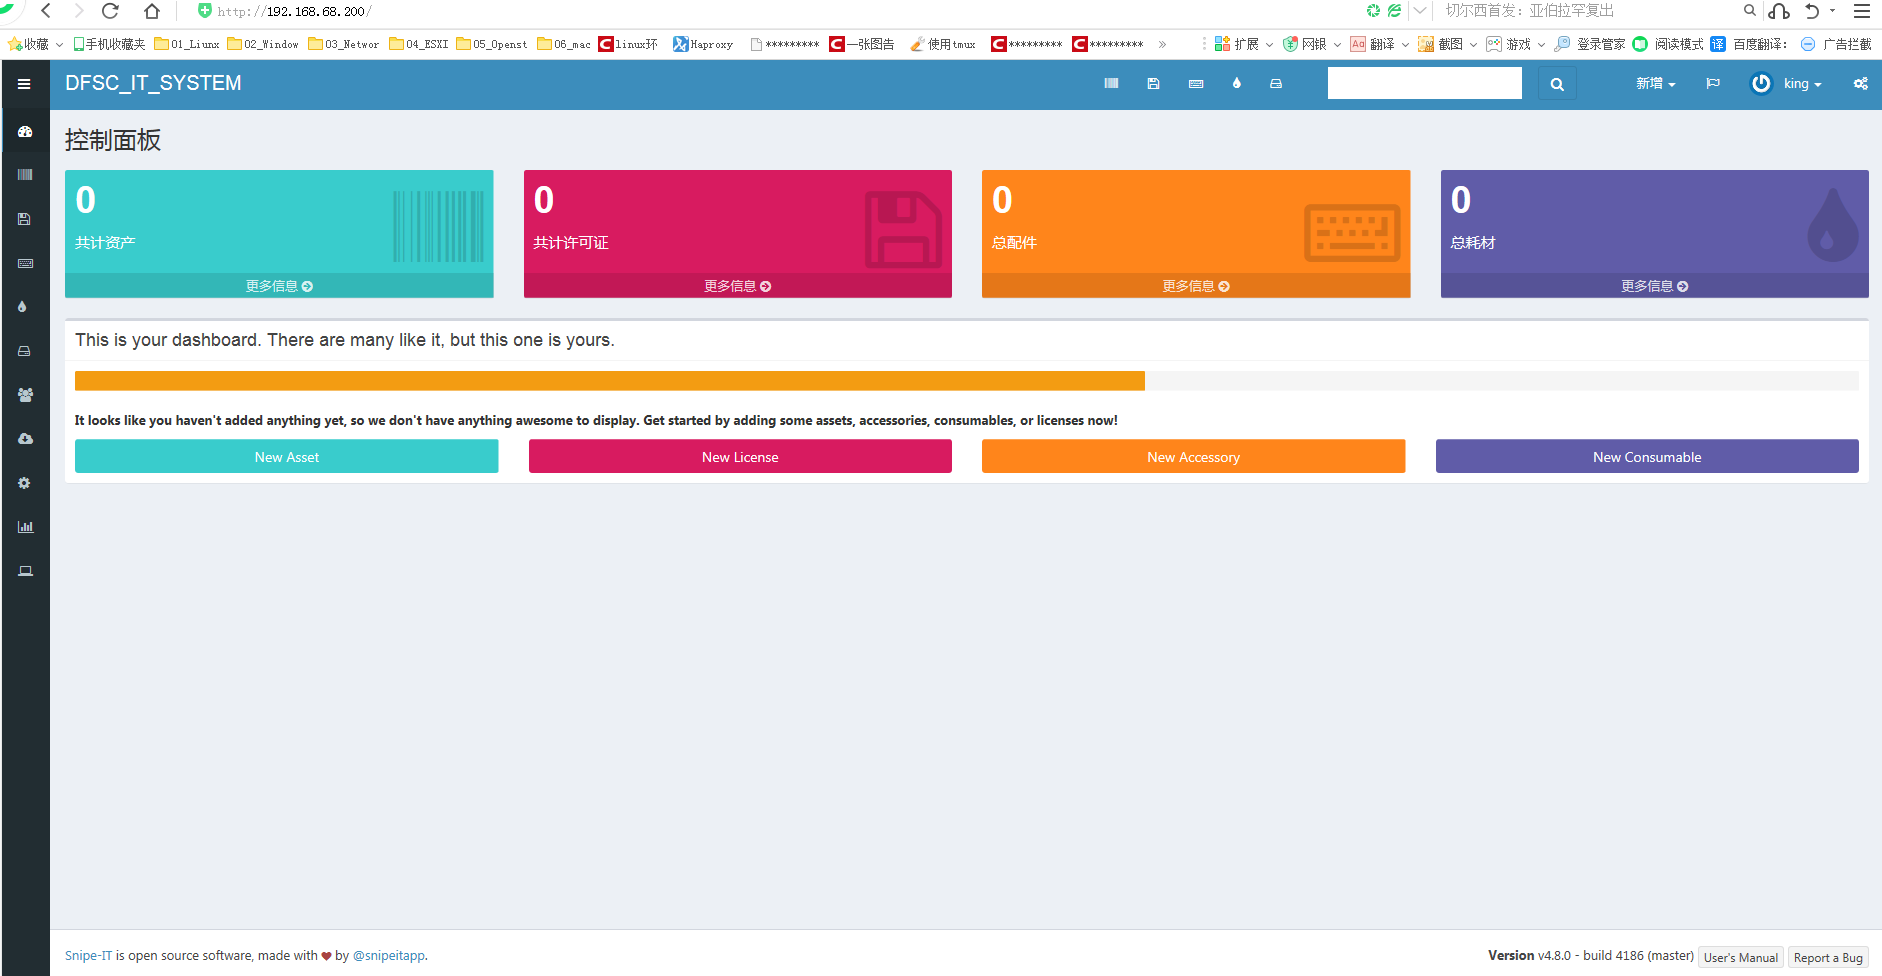
保存退出,重启httpd systemctl restart httpd 七、浏览器中打开WEB界面,进行安装。